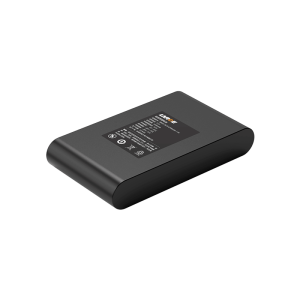
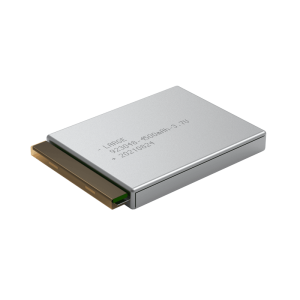
At present, nickel-hydrogen batteries are used in different products. We should know something about their use and maintenance. Nowadays, many nickel-hydrogen rechargeable batteries are not damaged, most of them are discharged. Because of the self-discharging reaction of Ni-MH batteries, long-term non-use may lead to over-discharge of Ni-MH batteries, resulting in excessive internal resistance. If the batteries are not charged, the batteries will be discarded. Accordingly, how to repair the Ni-MH batteries will be described below. ?
Specific steps:
Step 1: Discharge the battery thoroughly after stripping. According to the current status of the battery, it will take about 5-10 hours for the battery to be short-circuited directly or to discharge with a resistance of 1 ohm when the end voltage of the load is close to 0 volts. This can prevent the battery from burning out due to short circuit accidentally after adding water, and reduce the electrochemical corrosion during immersion.
Step 2: Open the safety valve. There are four holes in the positive pole of batteries such as Sanyo and SONY. You can see that the rubber cap of the safety valve has four holes. It uses a thin wire (I use the pin with 1/4 resistance) to bend into a U-shaped shape, and then inserts about 2 mm from the bottom of the rubber cap to the center. The relief valve is then forced to open and bent into a U-shaped shape so as not to damage the rubber cap.
Step 3: Blanch the battery with boiling water until the positive pole no longer bubbles, but remember not to boil the battery, but blanch the water after boiling.
Immediately put it in a bottle of cool (room temperature) pure water and wait for about 1 minute. At this time, some water has been inhaled. Press the bottle cap and squeeze the bottle forcefully for about 10 seconds, so that more water can enter the battery:
Step 4: Take out the battery, dry, pull out U-shaped wire, cover. It is better to use large cross screwdriver with small hammer to slightly dent the center position of the positive cap to increase the sealing degree of the relief valve. If the dent goes down 0.5 mm, the dangerous situation will occur.
Step 5: After 5 hours of storage, the charging and discharging should be repeated 3-5 times. First charge with fast charge for about half an hour, then slow charge with the end voltage of more than 1.45V (which takes a long time), and then use a medium or slow charger.
Part 6: Re-setting capacity. In this case, the battery is charged and placed for 5 hours, then the ZB210 multifunctional battery capacity tester is used to discharge the battery to the termination with 1A cross current, and then the capacity (accurate to 10 mAh, rounded) is painted on the battery.
Complete the above steps, do you think the battery has a sense of life and death?
The page contains the contents of the machine translation.